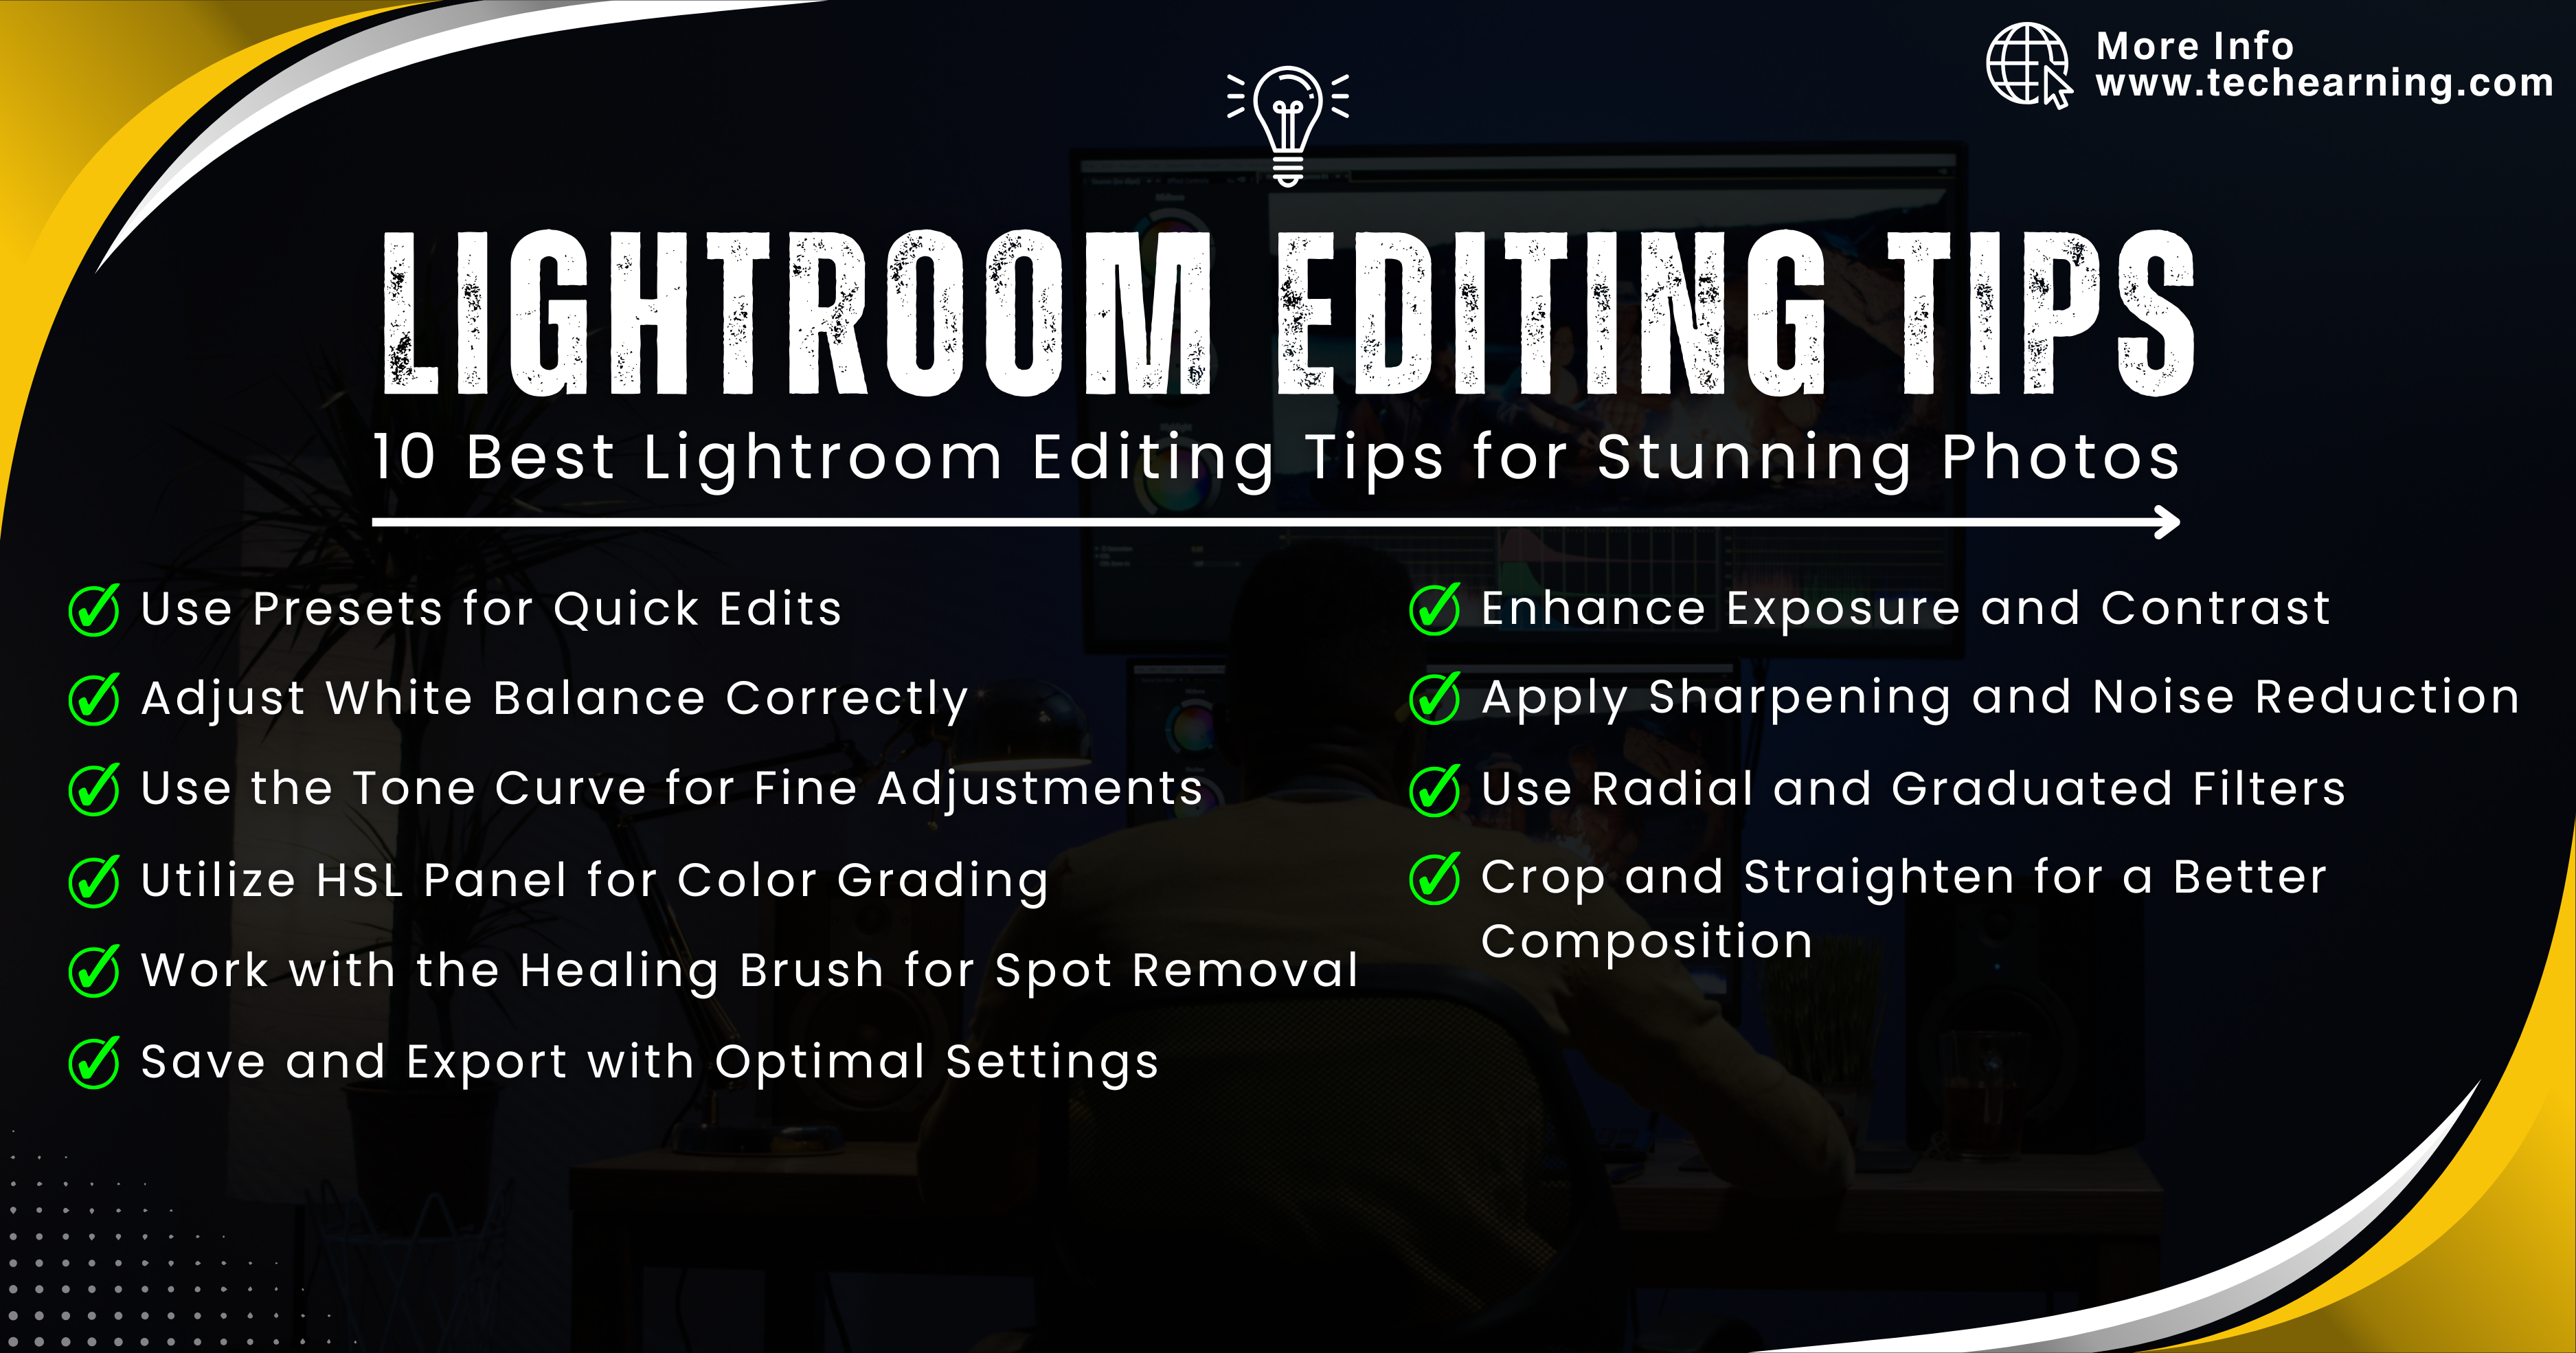
10 Best Lightroom Editing Tips for Stunning Photos
10 Best Lightroom Editing Tips for Stunning Photos
Adobe Lightroom is a powerful tool that allows photographers and editors to enhance their images professionally. Whether you are a beginner or an experienced editor, mastering Lightroom editing tips can help you create visually appealing images. In this article, we will cover the best Lightroom editing tips to enhance your photo editing workflow.
Use Presets for Quick Edits
Lightroom editing tips include using presets to speed up your editing process. You can either download pre-made presets or create your own to apply a consistent look across multiple images. Using presets can save you hours of manual adjustments and help maintain a cohesive editing style.
Adjust White Balance Correctly
Setting the right white balance ensures your images have accurate colors. Use the “Auto” feature or manually adjust the temperature and tint sliders for the best results. A properly balanced white setting removes unnatural color casts and ensures your photos look natural and professional. This is a key Lightroom editing tip for achieving a clean and realistic look.
Enhance Exposure and Contrast
Proper exposure and contrast adjustments can bring out details in your photos. Use the histogram as a guide and tweak the exposure slider to balance highlights and shadows. Overexposed areas may lose detail, while underexposed sections can appear too dark. Finding the right balance is crucial for a polished final image. Lightroom editing tips like adjusting contrast can give your photos more depth.
Use the Tone Curve for Fine Adjustments
The tone curve allows precise control over brightness and contrast. Adjust the curve for highlights, mid-tones, and shadows to refine your image’s tonal range. This tool is particularly useful for adding depth and drama to your images. Among the best Lightroom editing tips, mastering the tone curve helps in achieving professional-level edits.
Utilize HSL Panel for Color Grading
The HSL (Hue, Saturation, Luminance) panel is essential for adjusting individual colors. Use it to make colors pop or tone them down to achieve your desired look. This feature is excellent for creating a cinematic feel or enhancing specific color tones in your images. Lightroom editing tips recommend using this tool to customize the color palette of your images.
Apply Sharpening and Noise Reduction
Enhance image sharpness by adjusting the “Detail” panel settings. Increase the “Amount” slider for more defined edges while using the “Masking” slider to prevent sharpening unnecessary areas. Reduce noise in low-light images by increasing the luminance noise reduction slider, ensuring a clean and crisp final look. Lightroom editing tips like these can significantly improve image quality.
Use Radial and Graduated Filters
These filters help apply selective adjustments to specific areas of the photo. Use radial filters for spotlight effects and graduated filters for enhancing skies or backgrounds. This allows you to create depth and direct focus toward important parts of your image. Among the essential Lightroom editing tips, using filters can transform a dull image into a dynamic composition.
Crop and Straighten for a Better Composition
A well-composed image attracts more attention. Use the crop tool to remove distractions and align the horizon for a professional finish. Lightroom’s “Rule of Thirds” grid can help you frame your shots more effectively for a balanced composition. Lightroom editing tips suggest using cropping to improve visual appeal.
Work with the Healing Brush for Spot Removal
Remove unwanted spots, blemishes, or distractions using the healing brush tool. This is especially useful for portraits and landscape photography. The clone and heal functions let you seamlessly blend corrections, ensuring a flawless final product. A valuable Lightroom editing tip is to zoom in and carefully remove any imperfections.
Save and Export with Optimal Settings
Exporting images in the correct format ensures quality. Use JPEG format with 80-100% quality for web uploads and TIFF or PNG for high-quality prints. Pay attention to resolution settings—300 DPI is recommended for prints, while 72 DPI is sufficient for web use. Additionally, consider adding a watermark to protect your work from unauthorized use. Lightroom editing tips for exporting ensure that your images retain quality across different platforms.
Bonus Tips for Advanced Lightroom Editing
Use Split Toning for Unique Color Effects
Split toning allows you to add different colors to highlights and shadows separately. This technique is great for achieving a vintage, cinematic, or moody look in your images. Lightroom editing tips for split toning help create artistic color effects.
Batch Editing for Efficiency
If you have multiple images from the same shoot, use batch editing to apply adjustments to all images at once. This saves time and ensures consistency across your work. Lightroom editing tips recommend batch processing for photographers who handle large numbers of photos.
Create Custom Brushes for Precision Editing
Lightroom’s adjustment brushes allow for localized corrections. You can create custom brushes to enhance eyes, smooth skin, or add selective sharpness to specific areas. Advanced Lightroom editing tips involve mastering brushes for high-level retouching.
Conclusion
Mastering these Lightroom editing tips will significantly improve your photo editing skills. Experiment with different tools and techniques to develop your unique editing style. Whether you’re editing for social media, professional photography, or personal projects, these Lightroom editing tips will help you achieve the best possible results.
For more photo editing tips, check out our home page for valuable resources !


